
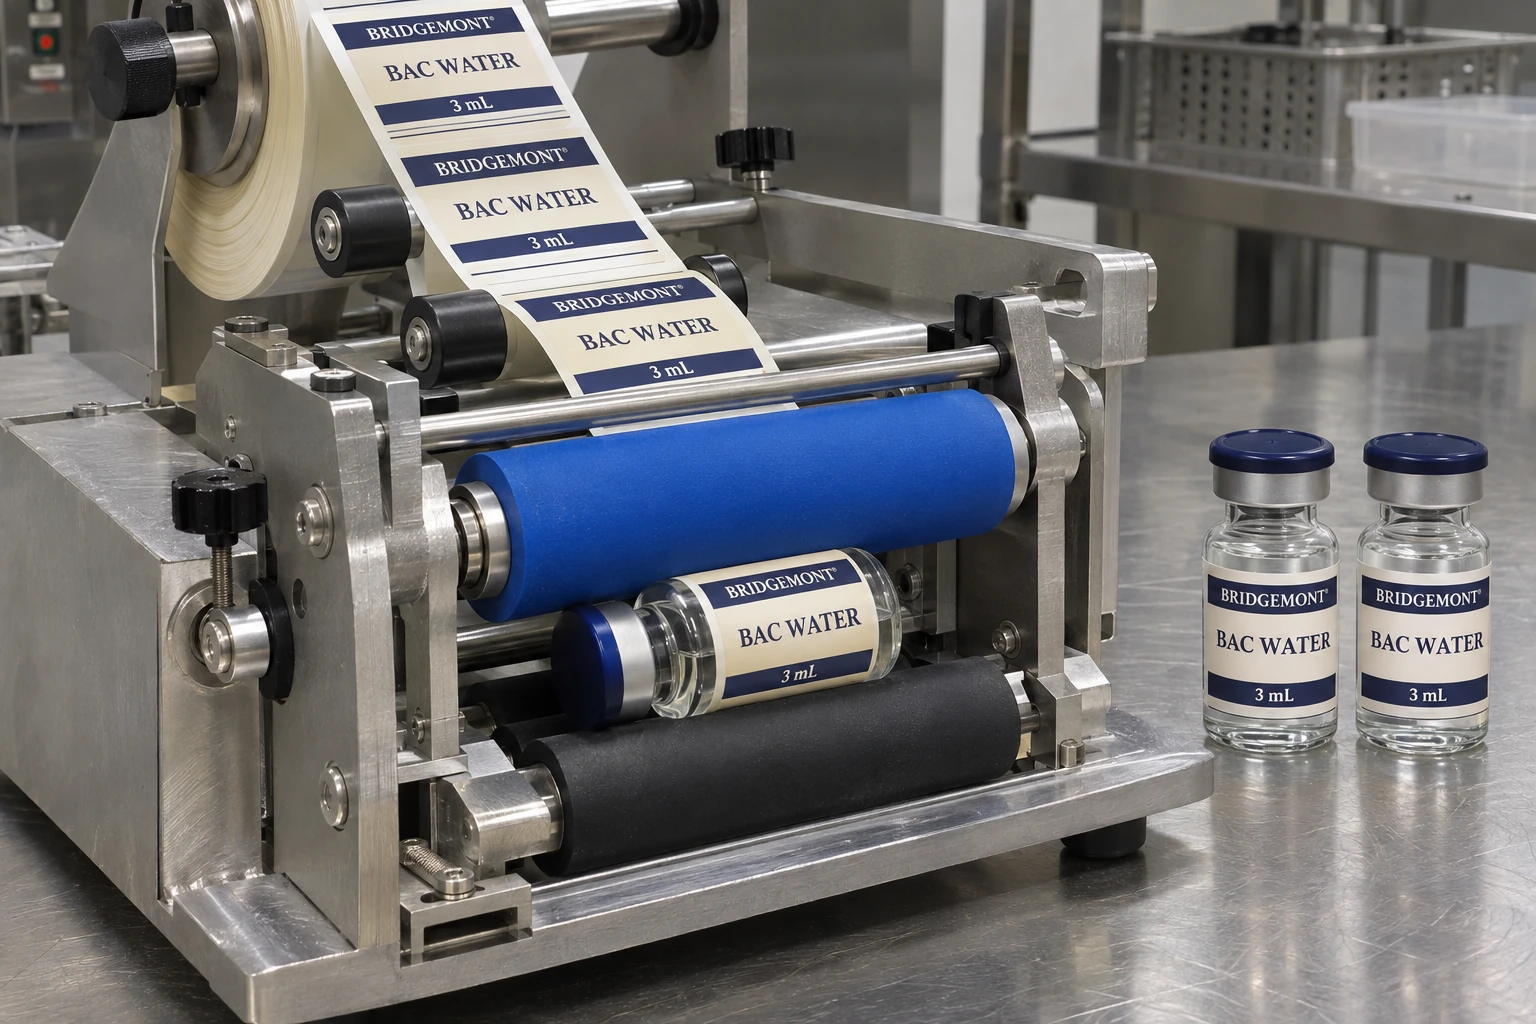
Printed vial labels
Set the wrap label size, placement and lot fields. Review the finished application for alignment and legibility on the selected vial.
Products & formats / Vial components
Specify the label, flip-off cap, metal collar and lot marking together. Each option is reviewed against the selected vial, closure and artwork.
Labels and closures
Share a reference for the finish you want, along with the vial and closure dimensions. Final colour, finish and marking are confirmed in the proof.
Set the wrap label size, placement and lot fields. Review the finished application for alignment and legibility on the selected vial.
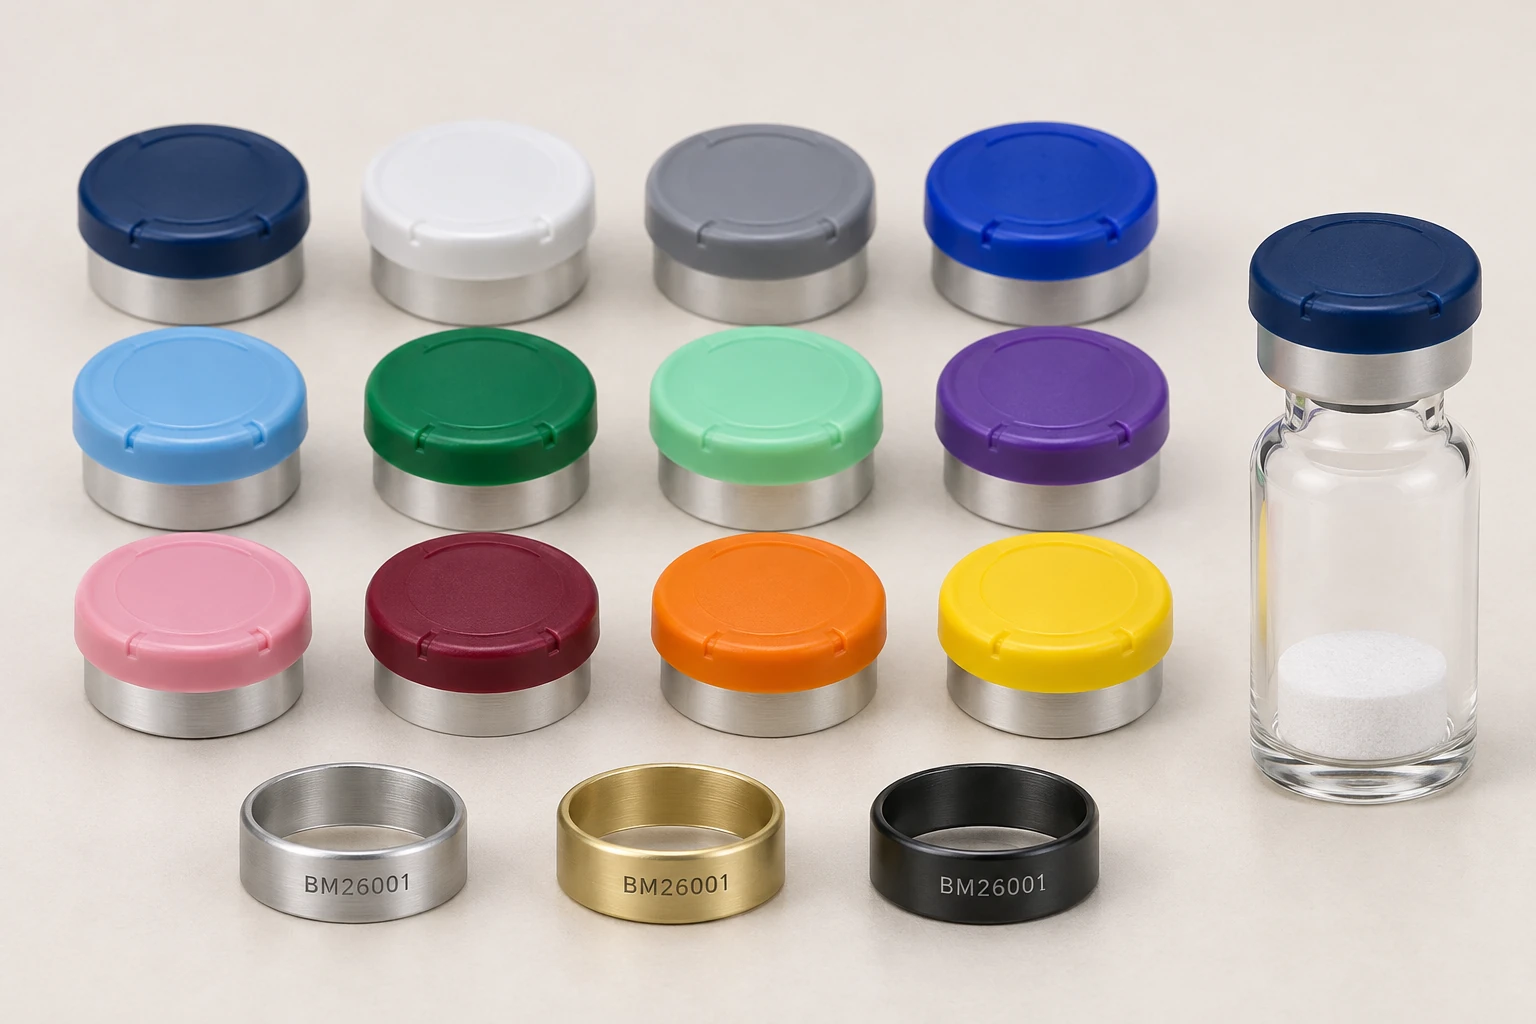
Use different colours for formats or product lines. Select a cap colour and closure size, then review the sample together.
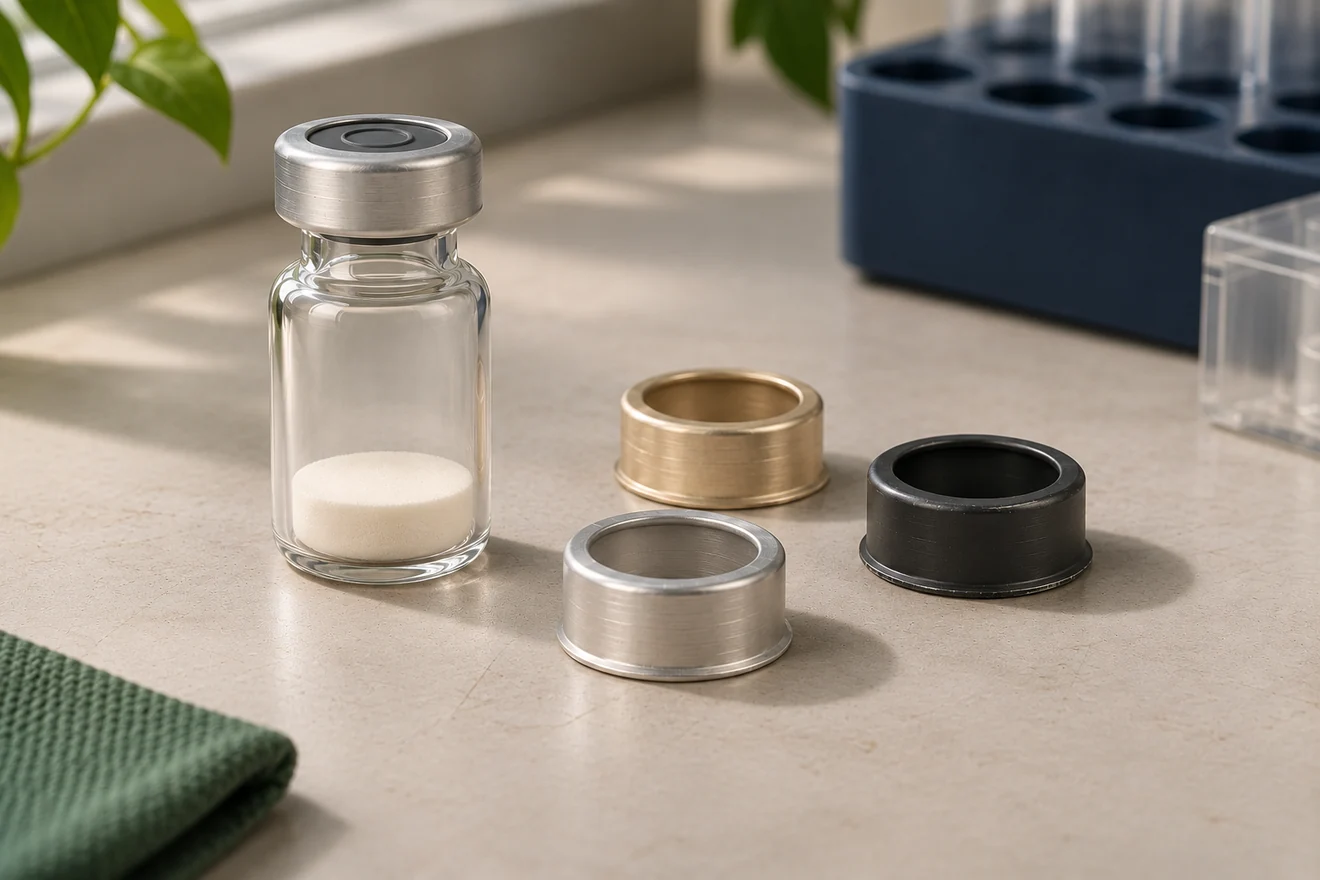
The collar is the metal band beneath the cap. Choose a finish and confirm that the crimp matches the vial neck and closure.
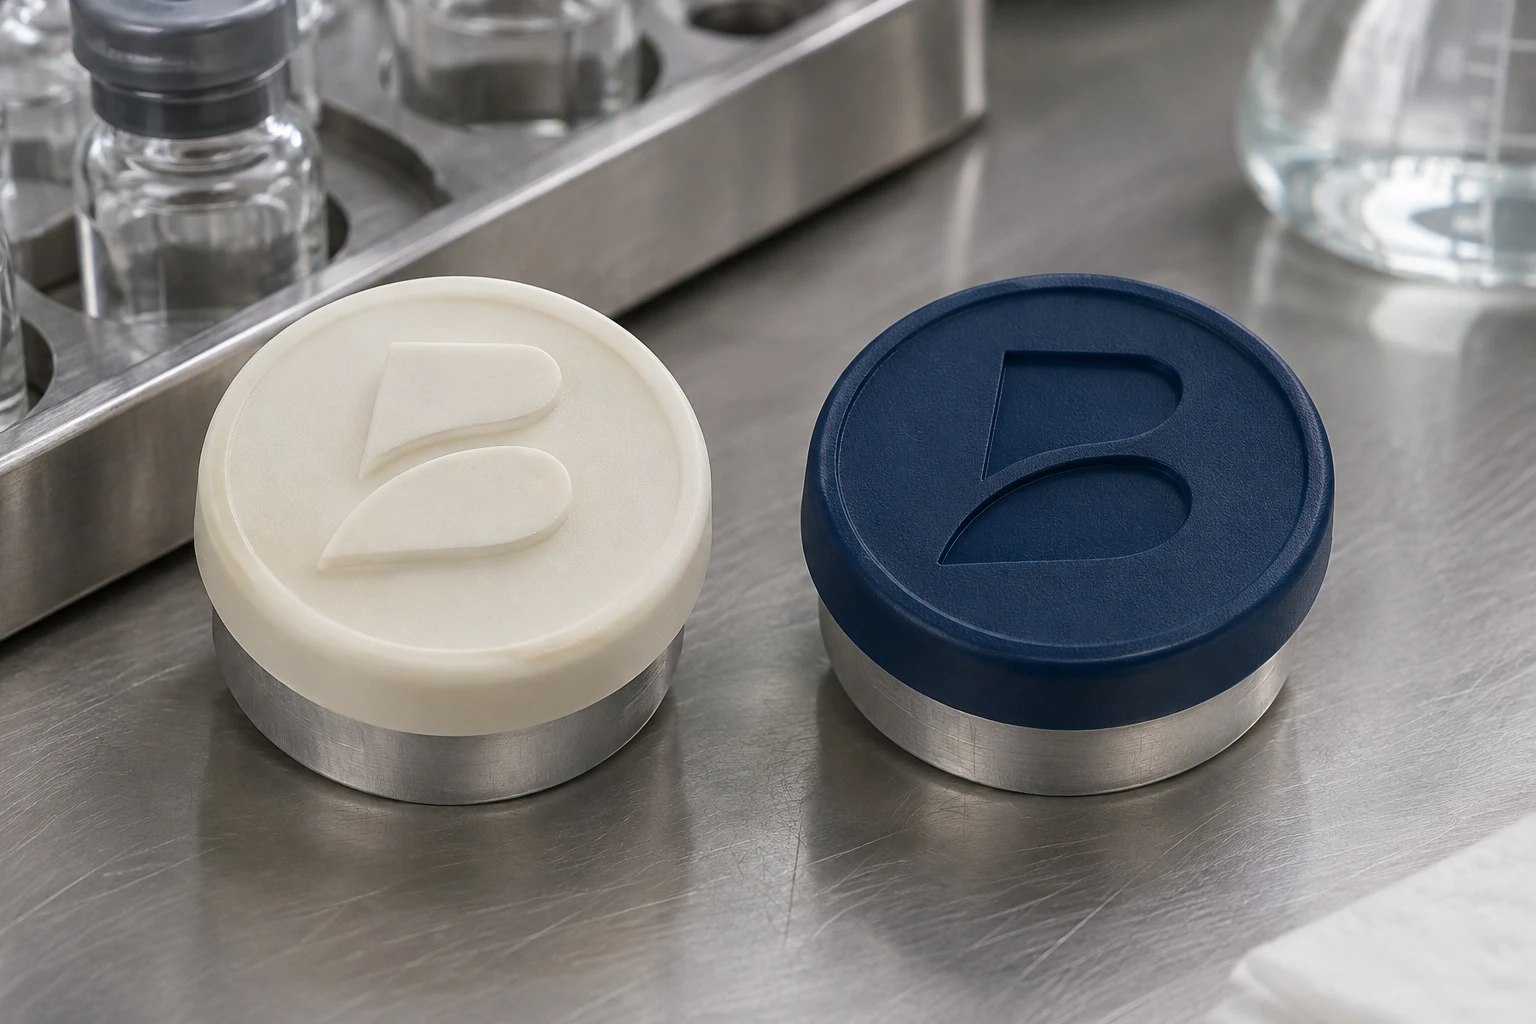
Choose a raised embossed logo or a recessed debossed mark. Review legibility at cap scale and confirm the tooling for the selected finish.
Specify the batch or lot number format for laser marking on the aluminum collar. Confirm the marking area, contrast and character size for the chosen collar.
Approval process
Scope any samples, tooling and lead time in the project quote.
Confirm body and neck dimensions, the closure system and the available label area.
Check label layout, cap artwork, colour references and the exact lot-marking format.
Use a standard closure where it meets the brief. If the shape or logo requires a custom mould or stamp, agree the tool specification before sampling.
Agree the approval sample and check fit, colour, placement and marking legibility before the run.
Apply the approved components and markings. Confirm how the finished vials will be identified and packed.
Custom tooling
Start with the closure diameter, cap profile and vector artwork. For a moulded logo, the approved artwork is translated into a relief in the mould cavity, scaled to the usable area on the cap face.
Review a first cap for logo legibility and finish, then check it on the selected collar and vial. Any one-time tooling charge, sample requirement and lead time are itemized in the quote.
Project brief
Send vial dimensions, quantity, a colour or finish reference and any logo, label or lot-marking artwork you already have.
See the customization overview Explore matching vial boxes
Discuss vial customizations